Assets
To enable you to add images to your items there is a facility for you to be able to upload pictures to the Broadcast system. You do this by using the assets tab.
Listing existing assets
When you select the Assets tab the first thing you will be presented with is a list of all of the assets that have been uploaded – either by you or by other people. From here you can delete or edit any images that you have uploaded and search for a particular asset.
There may be quite a number of assets already uploaded so they are split over several pages. Select the page numbers or the next/previous/first/last links to change the page.
Adding a new asset
Select the ‘Upload a new asset’ sub-navigation option. You will be presented with a form that allows you to select the image you want to upload from your hard drive (or CD, USB stick, etc.), add a title and add a caption. The caption is optional but if you supply it then the text will be displayed under the image when people view the item from the main web site.
When you complete the form and click on the button to submit the image you will be taken to the cropping interface. This will allow you to choose a section of the image that you want to use as the thumbnail image (which may get displayed along with a summary of the item when listing all items on a particular channel).
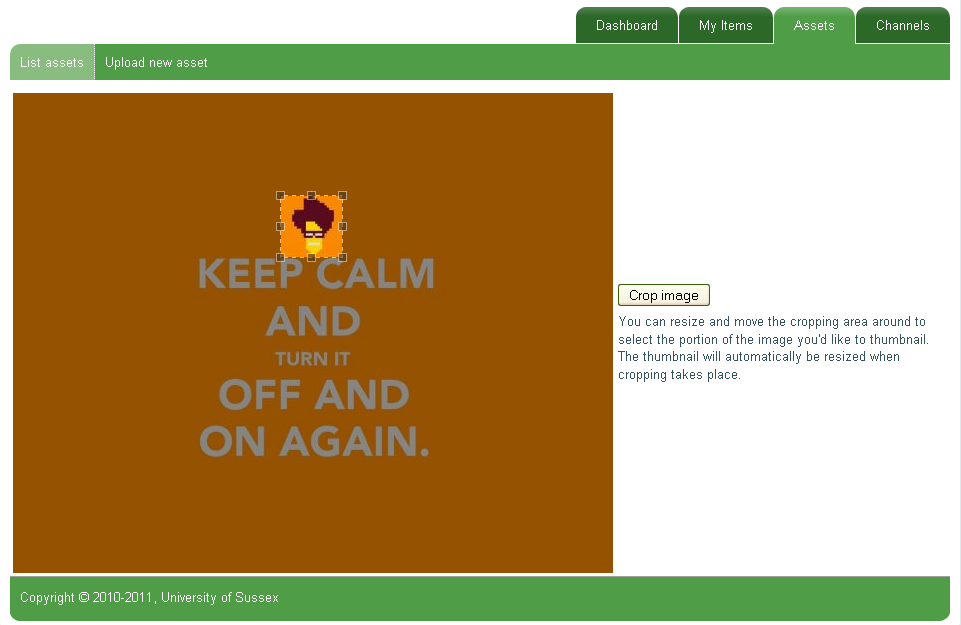
You can resize the crop box by dragging on one of the handles (shown as little square boxes around the face in the image above). When you’re happy that the area highlighted is what you want to appear in the thumbnail, click on the ‘crop image’ button.
Managing assets
If you have uploaded an image, when you hover over the information about that particular image you will be presented with a number of options.
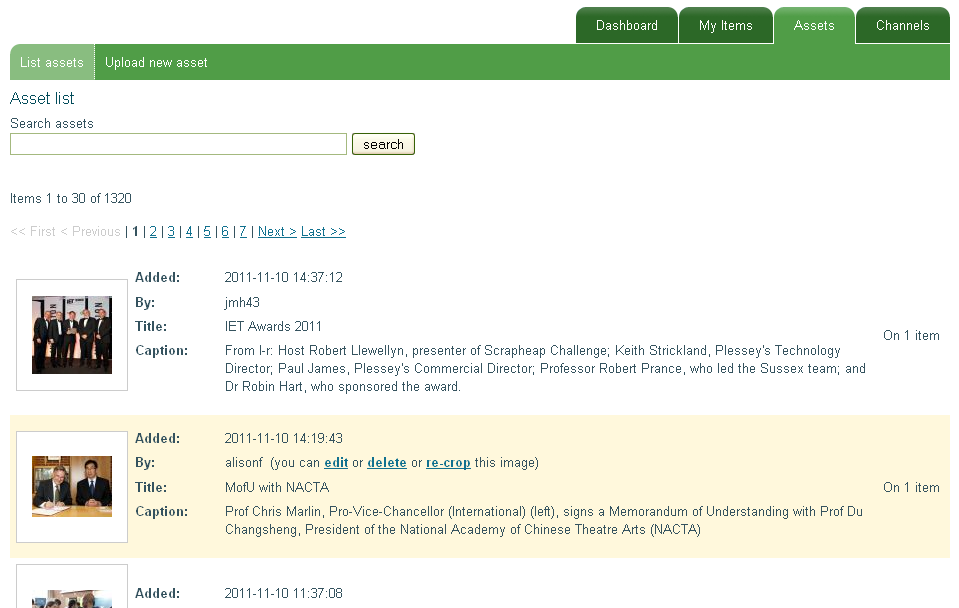
If you want to change the asset title or caption, select the ‘edit’ link and you will be presented with a form to complete – it’s just like the one for adding an image but without the option to select a new image from your computer. If you change the caption or title when editing an asset your changes will be reflected on any item that associates that particular image.
To remove the asset, select the ‘delete’ link.
If you want to change which portion of the image the thumbnail is generated from, select the ‘re-crop’ link and your image will be taken to the cropping interface (as shown in the ‘Adding a new asset’ above).