Code42 CrashPlan will be discontinued in June 2020
Please make arrangements to back up your files.
We strongly recommend you replace CrashPlan with Box and OneDrive for Business.
You should install the sync clients for both Box and OneDrive. These create new folders on your computer that are kept synchronised with the cloud. You should work out of these folders, so that all your working files are backed-up, securely stored, and accessible on any other device.
Configuration
If you have just installed CrashPlan Pro, the program will start automatically; if not start the program in the usual way for your computer.
- If you see the message “Unable to connect to the backup engine, retry?” click Yes.
- Depending on the version you are installing, you may be presented with a screen entitled “Create a CrashPlan PROe account, in which case tick the New account option and fill in your details.
- When prompted, enter your Sussex Username and password. If you are asked for a server address, enter crashplan.sussex.ac.uk.
- Follow the setup wizard until you have completed the setup process.
You will be presented with the main CrashPlan Pro screen.
The program will begin scanning your computer and creating the first backup. Please note that the first backup is the largest and will therefore take quite some time to complete. Backups take considerably longer over a wireless connection, so where possible please ensure that your computer is connected to the network via an ethernet (wired) connection for this initial backup.
The default settings in the preconfigured installers should be fine, but if you want to change them - for example to exclude certain folders and files from backup - see below.
Customisation
By default, CrashPlan Pro will back up the user folder (i.e. data only) of the account that installed the program. If this is not you, you will have to change the configuration . If it was you then you may still want to change the configuration - say to exclude any unusually large or unimportant files.
Configure the folders backed up using the following procedure.
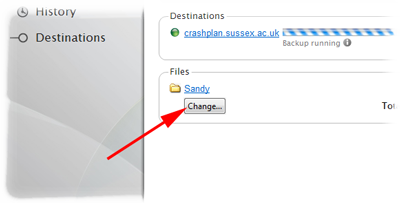
- Click on the Change... button beneath your name in the Files section:
- In the list of files and folders revealed, tick the files you want backed up and untick those you do not:
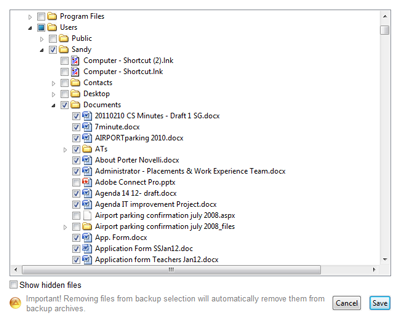
- Click Save to apply these changes. NB: any files removed from the selection will be removed from the backup archive as well.
Updated on 16 October 2024