Distribution Groups
What are Distribution Groups?
A distribution group (sometimes called distribution list) is a single email address to deliver email to all members of the group. It's generally used to communicate with individuals associated with a particular activity or group. They are recommended if you and your colleagues need to regularly message large groups of people.
There are also automatically maintained distribution lists used for internal communication within the University's Schools and Departments. Further information on how these mailing lists are created and managed can be found on this FAQ page.
An alternative to a distribution group is to create your own contact group in Outlook. This is helpful if you don't need to manage lots of members and you don't need other features that are provided by a distribution group
What groups do we have at the university?
The university manages 2 types of Distribution Groups
Automatically maintained groups
There are a number of groups managed centrally, for example groups managed by the Central Communications team for communicating across the whole university. Or there are groups that are managed depending on certain factors, e.g. a users role or department or membership of a committee.
If you have any questions about what groups are available for your school or department then please contact IT Services.
Manually maintained Groups
Manual groups are where the memberships is managed manually and can be used if you and others want to regularly communicated with a group of people.
How to view all Distribution Groups I am a member of
You can view all groups you are a member of, including distribution cards from your Office profile
- Open an Office app. For example, Outlook Mail.
- Hover over, or select your own name or profile picture to see your profile card
- Expand card to show more detail
- Select ‘membership’
How to request a new distribution group
To request a new manually managed distribution group then complete all the fields in this IT request form.
New Distribution Group Request Form
What are the key features of a Distribution group?
It's possible to have different settings/features for your distribution group to make it more secure and appropriate for use:
- • Delivery management- This feature controls who can and cannot send messages to the group.
- • Manage delegates- This feature controls who can send mail for the group.
- • Message moderation- allows messages sent to be checked prior to being distributed to all members of the group.
- • Membership approvals- controls how members can join or leave the group.
- • Hide from address book- controls if users can find it in address search.
How to manage a Distribution group
You need to be an owner of a distribution group on order to make any changes to its settings. To manage settings for a group you own you need to go the admin portal which can be accessed in 2 different ways
- via Outlook > select settings (cog in top right corner of screen) > General>Distribution Groups> click on link to the portal
- Or go direct to the admin portal
Under the ‘Distribution Groups I own’ pane select the group you would like to edit settings for.
- In Outlook> File >Account Settings>account settings
- Click to Select your email account
- Click Change
- Uncheck the box for ‘Use Cached Exchange Mode to download email to an Outlook data file’
- Click Next
- Click Done
- Close and re-launch the Outlook desktop app
- Launch Outlook desktop client
- Click Compose to compose a New Email
- Click the From field and select Other email address
- Click the drop down under Address Book to choose All Distributions lists (Groups)
- In the Search box type the name of the Distribution group, select to highlight the group, and Click OK
- Click on the Send Using drop down to choose your email address, and Click OK
- Open Outlook online by visiting https://outlook.office.com/
- Click New message
- At the bottom of the message contents box click on the ellipsis and select Show From
- Click From and select Other email address
- Type the name of the Distribution group you intend to Send as or Send on behalf of
- Add recipients, subject line, and message contents
- Open a browser and go to - https://admin.cloud.microsoft/exchange?page=groups#/
- Sign in with your usual IT credentials
- Select the 'Groups I own' tab
- If you do not see this immediately, copy and paste the URL into your web browser again.
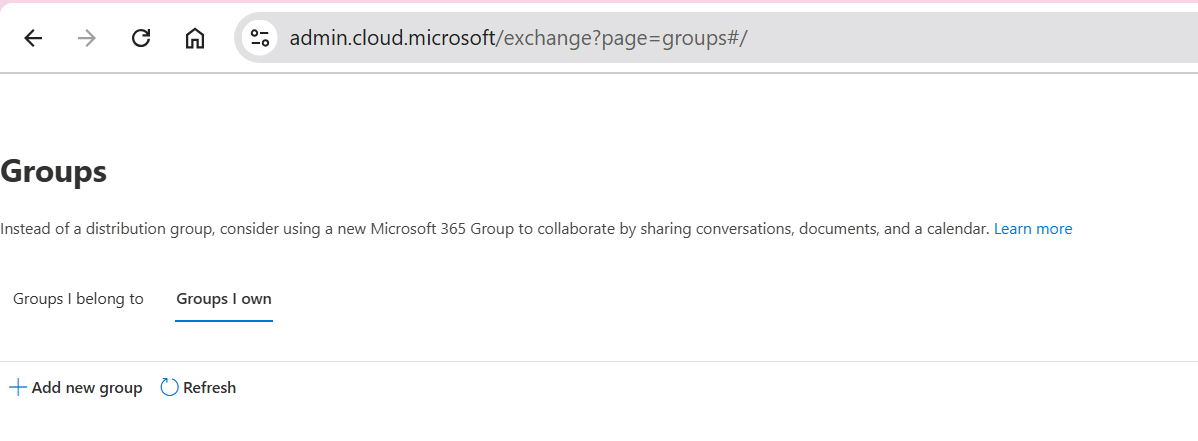
- Select the relevant group to view all members including external members now visible in the Global Address List
Adding members to a Distribution group
Internal members- Owners can add and remove internal members from the University of Sussex to a Distribution group. This applies to users with the @sussex.ac.uk domain extension.
If you need to add large quantities of email to a group you will need to contact itservicedesk@sussex.ac.uk with a list of all email addresses to be added.
External members- Owners are required to email itservicedesk@sussex.ac.uk if they wish to add or remove external members to or from a given Distribution group.
Group Moderation
Group moderation means a group is more secure and allows control of what is sent to all members of a group. If moderation is enabled then the moderator(s) will receive an email notification with the ability to Approve or Reject a message sent to the distribution group.
Messages are held for 5 days pending the action of a moderator – after which the message is declined, and the sender is notified.
Exceptions can be added for senders who don’t require message approval
NB. Moderator approval functionality only works in the Outlook desktop app for Windows based systems and Outlook Online. This feature does not work on the MacOS-based Outlook desktop app or the native MacOS mail client.
How to email a Distribution group
To send an email to the members of a distribution group, you must send an email to the address associated with the distribution group. If the group has moderation applied the moderator must approve the email.
NB. To prevent recipients from being able to expand the group to view the list of members MUST add the email address to the BCC field.
‘Send as’ or ‘Send on behalf’ of a distribution group?
If configured, when recipients receive the email, the From: field will indicate that the email was sent by the ‘[Group name]’ or ‘[senders name] on behalf of [Group name]’
If this functionality is required group owners will need to request these permissions from the IT Service Desk.
Outlook desktop app
To use this feature you will first need to make a one time configuration change to your Outlook desktop client
To ‘send as’ or ‘send on behalf of’
Outlook web app
How to view full membership of your mailing list
To close a Distribution group
When a group is no longer required its best practice to close the group. A group owner will need to Open a ticket with IT Services and request to close a distribution group.
Updated on 7 May 2026